
Exploring the World of Pencil Sketching Tips Techniques and Materials to Elevate Your Artistry
- samikshaartstudio
- Jul 31, 2025
- 8 min read
Pencil sketching is an accessible art form that welcomes everyone, from complete beginners to seasoned artists. With just a pencil and paper, you can convey a multitude of emotions and ideas. Understanding the right tools and methods can substantially boost your artistry. This article focuses on practical tips, essential techniques, and recommended materials, highlighting popular choices like Staedtler pencils and Tombow Mono erasers, cherished by countless artists for their effectiveness.
Understanding Pencil Grades
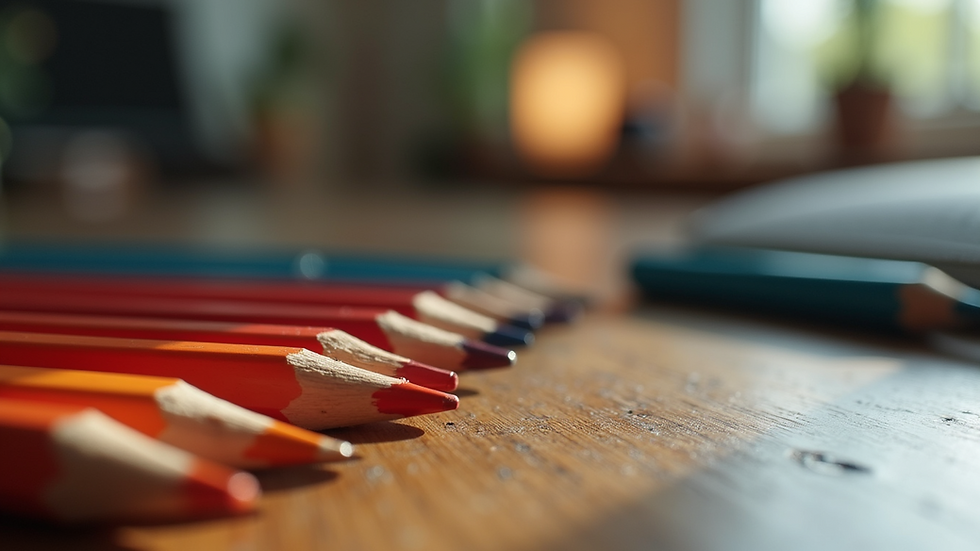
To master pencil sketching, you first need to know about pencil grades. Pencils come in various grades, which indicate their hardness and darkness. “H” pencils are hard, making light marks, while “B” pencils are softer, producing darker lines. For instance, a 2B pencil provides excellent options for rich shading, while an H pencil is suited for fine detailing.
Using the right pencil can greatly improve your sketching. For deeper contrasts, a 4B or even a 6B pencil gives a darker finish ideal for shading. On the other hand, a 2H pencil is excellent for crisp, clean outlines. Experimenting with these grades will help you discover your unique style.
Essential Materials for Pencil Sketching
When beginning your sketching journey, having the right materials is key. The following items are essential for any artist:
Pencils: A good range of grades is vital for various applications, whether for artistic endeavors, technical drawing, or everyday writing tasks. The grading system of pencils, which ranges from hard (H) to soft (B), allows users to select the appropriate pencil for their specific needs.
When it comes to professional pencil sketching, the choice of pencils can significantly impact the quality of the artwork. Here are the main types of pencils used:
Graphite Pencils: These are the most common pencils used for sketching. They come in various grades, ranging from hard (H) to soft (B), allowing artists to create a wide range of tones and textures.
Charcoal Pencils: These pencils provide deep, rich blacks and are perfect for creating dramatic contrasts. They are softer than graphite and can be smudged for shading effects.
Mechanical Pencils: These provide a consistent line width and are great for detailed work. They are refillable and come in various lead sizes, making them versatile for different styles of sketching.
Brands of Professional Sketching Pencils
Several brands are renowned for their quality and performance in the realm of professional sketching. Here are some notable ones:
Faber-Castell: Known for their high-quality graphite pencils, Faber-Castell offers a wide range of products suitable for artists of all levels.
Derwent: This brand is popular for its colored and graphite pencils, providing a great selection for sketching and drawing. Their Inktense and Graphitint lines are particularly well-regarded.
Staedtler: Offering a variety of pencils, including their Mars Lumograph range, Staedtler is known for its reliability and performance in both graphite and colored pencils.
Caran d'Ache: This Swiss brand is famous for its luxury art materials, including high-quality colored and graphite pencils that provide excellent performance.
Choosing the right type and brand of pencil is crucial for achieving the desired results in professional sketching. By understanding the different types of pencils available and exploring reputable brands, artists can enhance their sketching experience and produce stunning artwork.
Erasers: Your eraser can be just as critical as your pencil.
A kneaded eraser is a versatile tool made from a soft, pliable material. It can be shaped into various forms, allowing for precise erasing and shading techniques. Artists often use kneaded erasers to lift graphite or charcoal without smudging the surrounding area. They are particularly effective for creating highlights and subtle transitions in drawings. Additionally, kneaded erasers can be cleaned by simply kneading them, which helps maintain their effectiveness over time.
Plastic erasers are known for their durability and effectiveness in erasing pencil marks. Made from a synthetic rubber compound, they are firm yet flexible, allowing them to remove pencil graphite cleanly. These erasers are less likely to tear paper compared to other types and often leave minimal residue. Plastic erasers come in various shapes and sizes, making them suitable for both general use and detailed work. They are ideal for students and professionals who require a reliable and efficient erasing tool.
A gum eraser is a softer, more flexible type of eraser that is typically made from a rubbery substance. Known for its gentle touch, it effectively erases pencil marks without damaging the paper. Gum erasers are particularly favored by artists for their ability to remove marks without leaving behind a lot of debris. They can also be used to create textures in drawings by lightly rubbing the eraser over the surface. While they may wear down faster than plastic erasers, their unique properties make them a popular choice for detailed artwork and sketching.
The Tombow Mono Eraser is notable for its accuracy. It cleanly eliminates marks without damaging the paper, making it easy to refine your sketches.
Paper: The type of paper you choose for your drawing significantly influences your overall drawing experience and the outcome of your artwork. When selecting sketch paper, it is essential to consider the texture of the paper, as this can greatly affect how the medium interacts with the surface. Papers with a bit of texture, often referred to as "toothy" papers, provide more grip for graphite, allowing for richer shading and more dynamic lines. This texture helps the pencil to adhere better to the surface, resulting in a more controlled application of graphite, which can enhance the depth and detail in your sketches.
In addition to texture, the weight of the paper also plays a crucial role in your drawing process. Heavier papers, such as 300 gsm watercolor paper, are particularly well-suited for intricate and detailed work. This weight indicates that the paper is thicker and more robust, which allows it to manage multiple layers of medium without warping or buckling. This quality is especially beneficial when working with wet mediums, as it can absorb moisture without compromising the integrity of the paper. Furthermore, the durability of such heavyweight papers enables artists to apply various techniques, from light sketching to heavy shading, without the fear of damaging the surface.
Moreover, when selecting paper, consider the specific type of drawing you intend to pursue. For instance, if you are planning to create highly detailed illustrations or intricate designs, the resilience and texture of heavier papers will allow you to build up layers gradually, achieving a rich, complex finish. Conversely, if you are looking for a more free-flowing sketching style, a lighter sketch paper may suffice, but it may limit the amount of detail you can comfortably achieve. Ultimately, understanding the characteristics of different types of paper will empower you to make informed choices that enhance your artistic process and lead to more satisfying results in your drawings.
Blending Tools: Using blending stumps or tortillons can refine your sketches, allowing for smooth transitions and gradations that give your work a professional finish.
Investing in high-quality materials pays off through improved results and a more enjoyable sketching experience. As a beginner you may start with student grade materials.
Techniques to Enhance Your Sketching Skills
1. Basic Sketching Techniques
Start with light pencil strokes for your outlines. This method allows you to erase and make adjustments without damaging the paper. Keep your pencil at a consistent angle for smooth lines. Practicing varied pressure levels will help you understand how each affects line quality.
2. Shading Techniques
Adding shading enhances your sketches’ depth. Here are three effective techniques:
Adding shading enhances your sketches’ depth, providing a three-dimensional quality that can bring your drawings to life. Shading not only adds realism but also helps to convey mood and atmosphere within your artwork. Here are three effective techniques that can elevate the quality of your sketches:
Hatching
Hatching is a technique that involves drawing closely spaced parallel lines to create an area of shadow. The density and direction of these lines can significantly affect the perceived texture and volume of the object being sketched. For instance, by varying the spacing between the lines, you can create a gradient effect, transitioning from light to dark. Additionally, changing the angle of the lines can suggest the curvature of surfaces, enhancing the dimensionality of your sketch. Experimenting with different line weights can also add variety and interest to your shading, making it a versatile technique for artists of all levels.
Cross-Hatching
Cross-hatching builds upon the hatching technique by layering lines in different directions. This method creates a more complex and nuanced shadow effect, allowing for deeper contrasts and richer textures. By crossing lines at various angles, you can achieve a wide range of tones, which is particularly useful for depicting intricate details or the interplay of light and shadow on complex forms. This technique encourages a thoughtful approach to shading, as the artist must consider how light interacts with surfaces and how to represent that through the intersection of lines. Mastering cross-hatching can significantly enhance the depth and realism of your sketches.
Blending
Blending is a technique that involves smoothing out the pencil strokes to create soft transitions between light and dark areas. This can be achieved using tools such as blending stumps, tissues, or even your fingers. Blending allows for a more subtle approach to shading, making it ideal for creating smooth gradients and soft shadows. It works particularly well for rendering skin tones, fabrics, and other surfaces where a soft transition is desired. However, it requires careful control to avoid over-blending, which can lead to a loss of detail. Combining blending with hatching or cross-hatching can result in a harmonious balance of sharp and soft edges, giving your sketches a dynamic quality that captivates the viewer.
Incorporating these shading techniques into your sketches not only enhances their visual appeal but also allows you to express your artistic voice more effectively. By practicing and refining these methods, you can develop a unique style that showcases your understanding of light, form, and texture, ultimately leading to more compelling and lifelike artwork.
Stippling Stippling is an art and illustration technique that uses small dots to form patterns or images, instead of lines or solid colors. Originating from early engravers and printmakers, it gained popularity during the Renaissance for adding depth and dimension, notably used by Georges Seurat in pointillism. Historical Context Artists have long used stippling for subtle tonal gradation, enhancing realism in portraits and landscapes. Techniques and Tools Stippling employs tools like pencils, pens, brushes, or styluses, depending on the medium, allowing for precise dot placement to manipulate light, shadow, and texture. Today, stippling remains popular, blending traditional and modern art, with digital artists replicating the effect in software and graphic designers using it for distinctive visuals.
Experimenting with these techniques helps you find your preferred style. For example, many artists use stippling for softer textures in skin or foliage in landscape sketches.
3. Perspective and Proportions
Mastering perspective and proportions is crucial for creating convincing sketches. Use one-point perspective for simplicity, particularly in architectural drawings. For figure sketching, familiarizing yourself with basic human anatomy—such as the proportions of the head to body (typically 1:8)—improves accuracy.
Taking time to study these fundamentals significantly enhances your drawings’ overall realism.
Incorporating Personal Style
Developing a personal style is a rewarding part of the artistic journey. Experiment with various subjects—landscapes, portraits, or still life—to identify what inspires you most. Incorporate unique elements into your sketches, whether it's a specific subject you gravitate towards or a technique that feels organic to you.
Don’t hesitate to explore new techniques and materials. Some of the greatest artistic breakthroughs happen when you step outside your comfort zone.
Tips for Consistent Practice
Create a Routine: Carve out scheduled sketching time each week. Regular practice, even for 30 minutes a day, will lead to noticeable improvements.
Embrace Mistakes: Every artist has sketches that miss their mark. Use these moments as valuable lessons rather than setbacks.
Seek Constructive Feedback: Share your sketches with friends or communities. Feedback not only encourages growth but also brings new perspectives.
Track Your Journey: Maintain a sketchbook to document your progress over time. Documenting your journey reveals how much you have developed and points out areas for further improvement.
Your Artistic Journey Awaits
Pencil sketching is a fulfilling art form that opens doors to creativity and self-expression. By understanding the necessary materials, mastering essential techniques, and developing a personal style, anyone can elevate their artistry. Whether you favor the reliability of Staedtler pencils or the precision of Tombow erasers, remember that the creative process is as significant as the final artwork.
Begin your pencil sketching adventure today. The more you practice, the more your artistic potential unfolds, allowing you to create pieces that resonate deeply with both you and your audience.


Comments